Winter is just around the corner. And with it the ski touring season. We show you how to make your climbing skins fit for the winter.
As soon as the first harbingers of the approaching winter delicately coat the mountains in September, many ski tourers' fingers start tingling. The touring skis are brought out of the cellar and everything is prepared for the winter. After all, it's not long now.
But as is often the case, the snow takes its time. It follows a golden autumn with temperatures up to over 20 degrees and from the first flakes is long nothing left. But at some point the first thick clouds come and Frau Holle shakes out her white gold over the mountains for days. So much that even the valleys get a little bit. When the time finally comes, you want to be the first to trudge your fresh tracks into the powder snow? We show you how to prepare your ski skins, whether new or old, perfectly for the first ski tours of the winter.

Preparing a new climbing skin
Basically, you don't have to do much with a new climbing skin. You may have to cut the new skin to fit your skis.
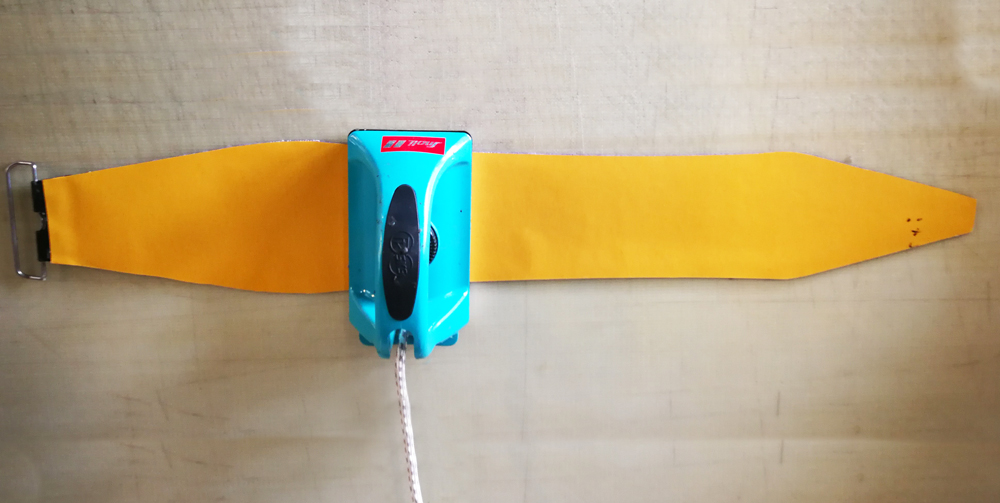
Cutting the touring ski skin
How to do this, we show you here in the video: In principle, the cutting for splitboard skins works the same way.
Impregnation against tarnishing
The majority of our touring skins, especially those made of pure mixed mohair, are naturally waterproof. Nevertheless, we recommend that you provide the touring ski skin with an additional impregnation.
Why? Quite simply, the gliding properties of your climbing skin are improved once again when freshly waxed and impregnated. And the treacherous clogging is prevented. The snow literally sticks to the skin side of the touring skin. As a result, gliding becomes much more difficult. Particularly when the temperature differences on a ski tour are large, as is often the case in the spring, for example, it comes to clogging.
To counteract this, the skin is therefore impregnated before the tour, thus preventing the annoying clogging. For this purpose we have two different products from our care series:
Greenline Skin Wax & Impregnation Spray.
For those who want it as simple as possible, the Skin Wax & Impregnation Spray is the right choice. Shake the impregnation spray, spray it on the climbing skins and wait. Made the night before the tour, the skin is perfectly prepared the next morning.
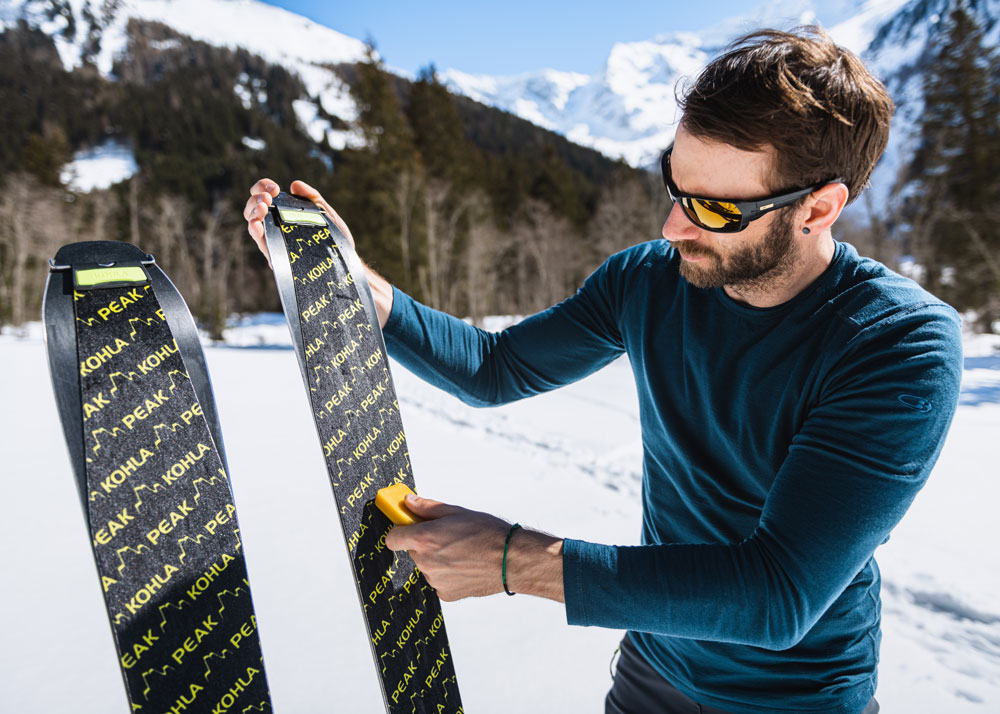
Impregnation wax
The processing of the impregnating wax is also no witchcraft. The wax is ironed directly into the fur with an old iron and little pressure.
But be careful: the iron must not be too hot (80 to max. 100°C). Nothing can happen with a wax iron. Preparing an existing touring ski skin The preparation steps for a climbing skin that you have been using for a while are basically only slightly different. The only thing you don't have to do is cut it to size.
Preparing an existing touring ski skin
The preparation steps for a climbing skin that you have been using for a while are basically only slightly different. The only difference is that you no longer have to cut it to size.
Cleaning
First, clean the touring skin thoroughly. First, carefully remove the coarse dirt with a brush. Then we recommend cleaning with our Skin & Ski Base Cleaner from the Greenline care series, with which you can clean not only the ski touring skin, but also the base side of the touring ski.
Impregnation
Before the next tour, impregnate the ski skins as described above.
Renew the adhesive layer
Depending on how often you go ski touring, the adhesion of the adhesive surface will eventually weaken. Renewing the adhesive side is a little more time-consuming, but with a little skill it is no problem. For re-coating the adhesive, we have developed the transfer tapes, which help you to coat the skin with new skin adhesive. It is only important that you choose the right transfer tape for the respective climbing skin, as we use different adhesives (there is a transfer tape for SmartGlue skins and one for Hotmelt skins).
You can find the step-by-step instructions for recoating the skin adhesive in this blogpost.
Conclusion:


