DIY Recoating skins yourself
My climbing skin no longer sticks! Recoating easy explained.
The adhesive layer of your coat is damaged?
Your Kohla fur does not stick so well anymore? The adhesive layer is in poor condition, full of dirt or half the forest sticks to it? High time to re-coat your climbing skin.
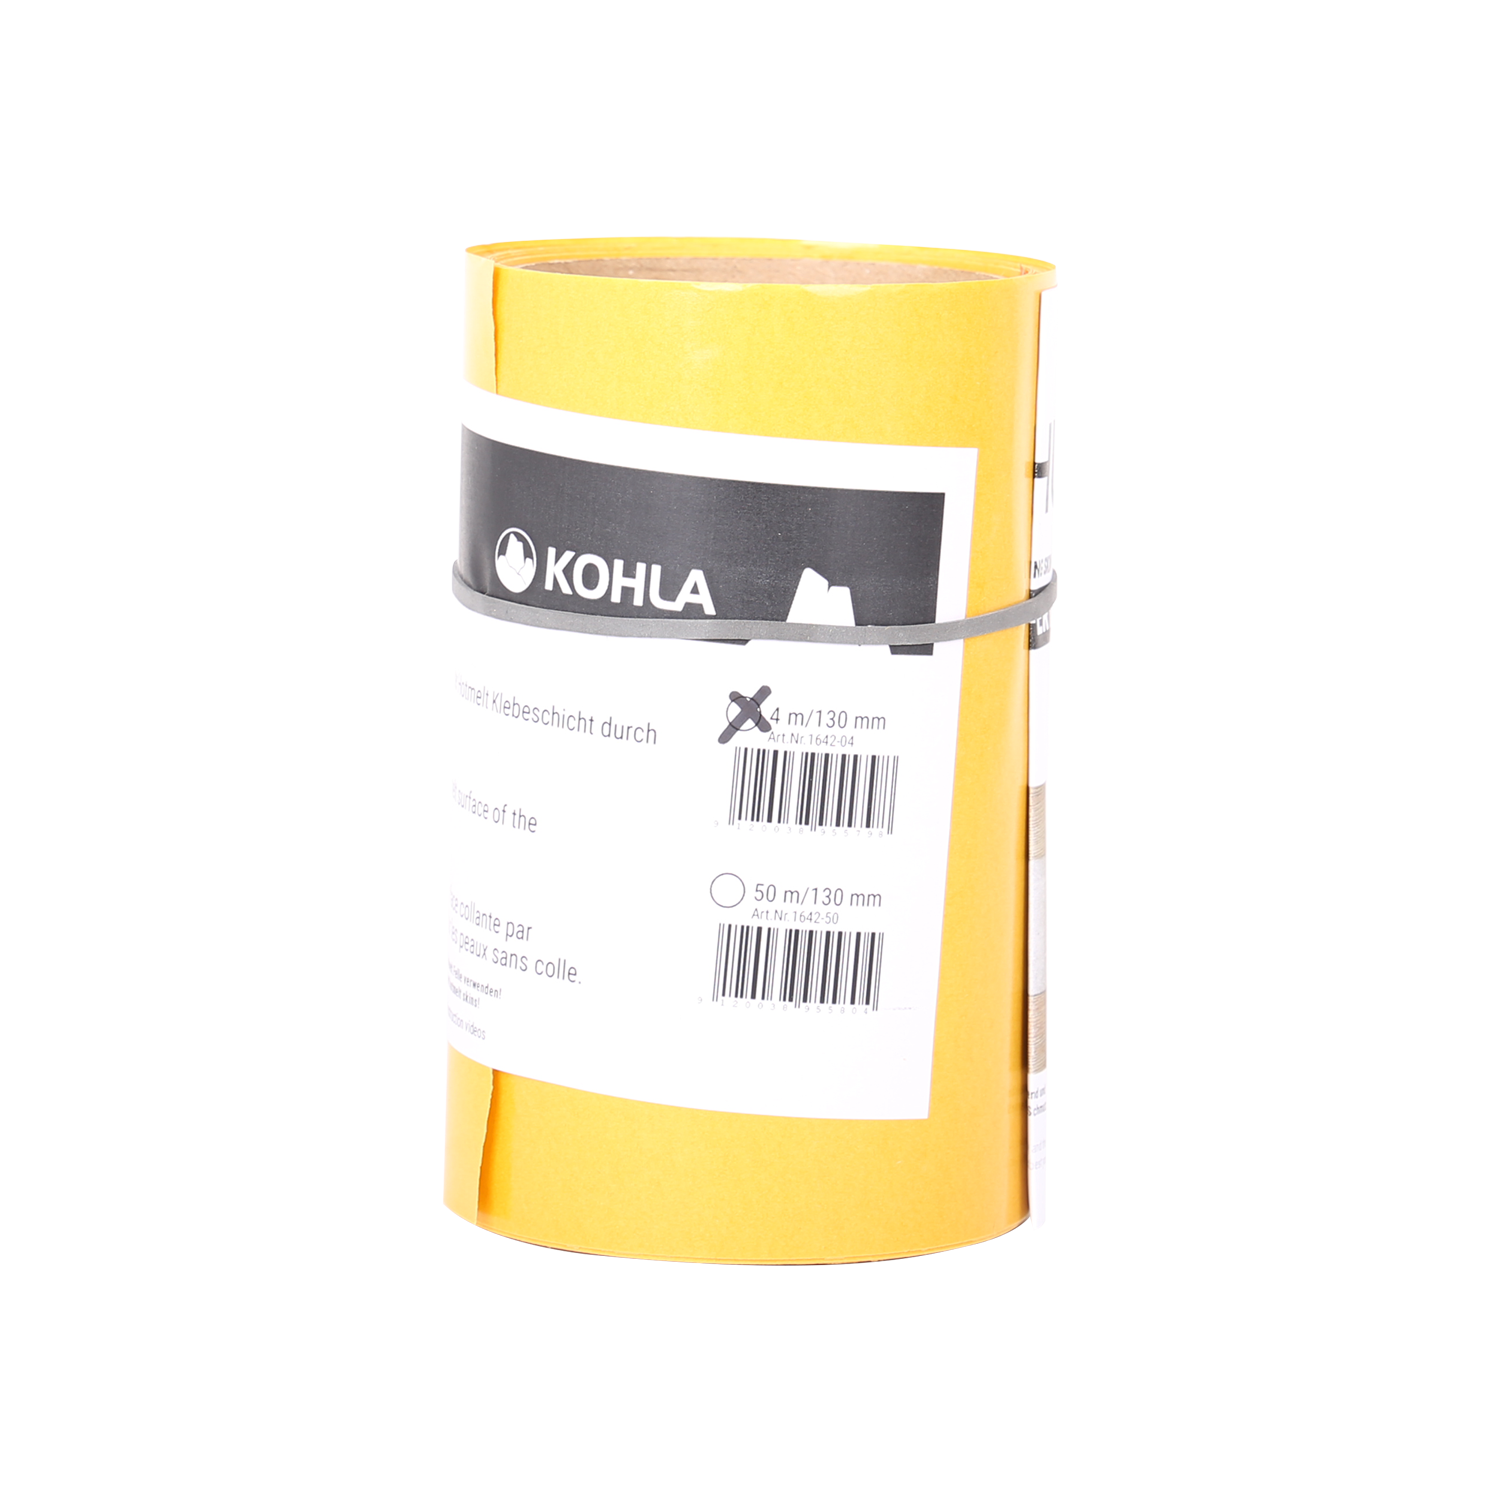
The solution - the Kohla Transfertape
Just like touring skis, climbing skins also need to be cared for. Both the skin side and the gluing surface need care so that they give you pleasure for a long time. If you want to treat the skin side environmentally conscious, then take a look at the Kohla Greenline products. Here you will find everything about skin care with biodegradable products.
Your skin's adhesive layer is worn out and in desperate need of treatment? This is where Transfertape comes in (Hotmelt or Smart Glue). With it, your climbing skin gets a new life and you can keep using it. Because a bad adhesive surface doesn't mean that your fur has to go to the garbage can. In this story, we'll explain to you exactly how recoating works and what points you need to consider.
Note
Important: before you start recoating, make sure you use the right transfer tape. The Kohla Transfertape for recoating is available in two versions. For all skins equipped with the Smart Glue (Alpinist Series, Vertical Series, Freeride Series, Race Series), the Smart Glue Transfertape must also be used! For all Hotmelt skins (Peak Series, Basic Series) use necessarily also the Hotmelt Transferape!
1. Assessment of the skin
Before you start to re-coat your climbing skin, you need to assess the skin. Classify your coat into one of the following two cases and severities:
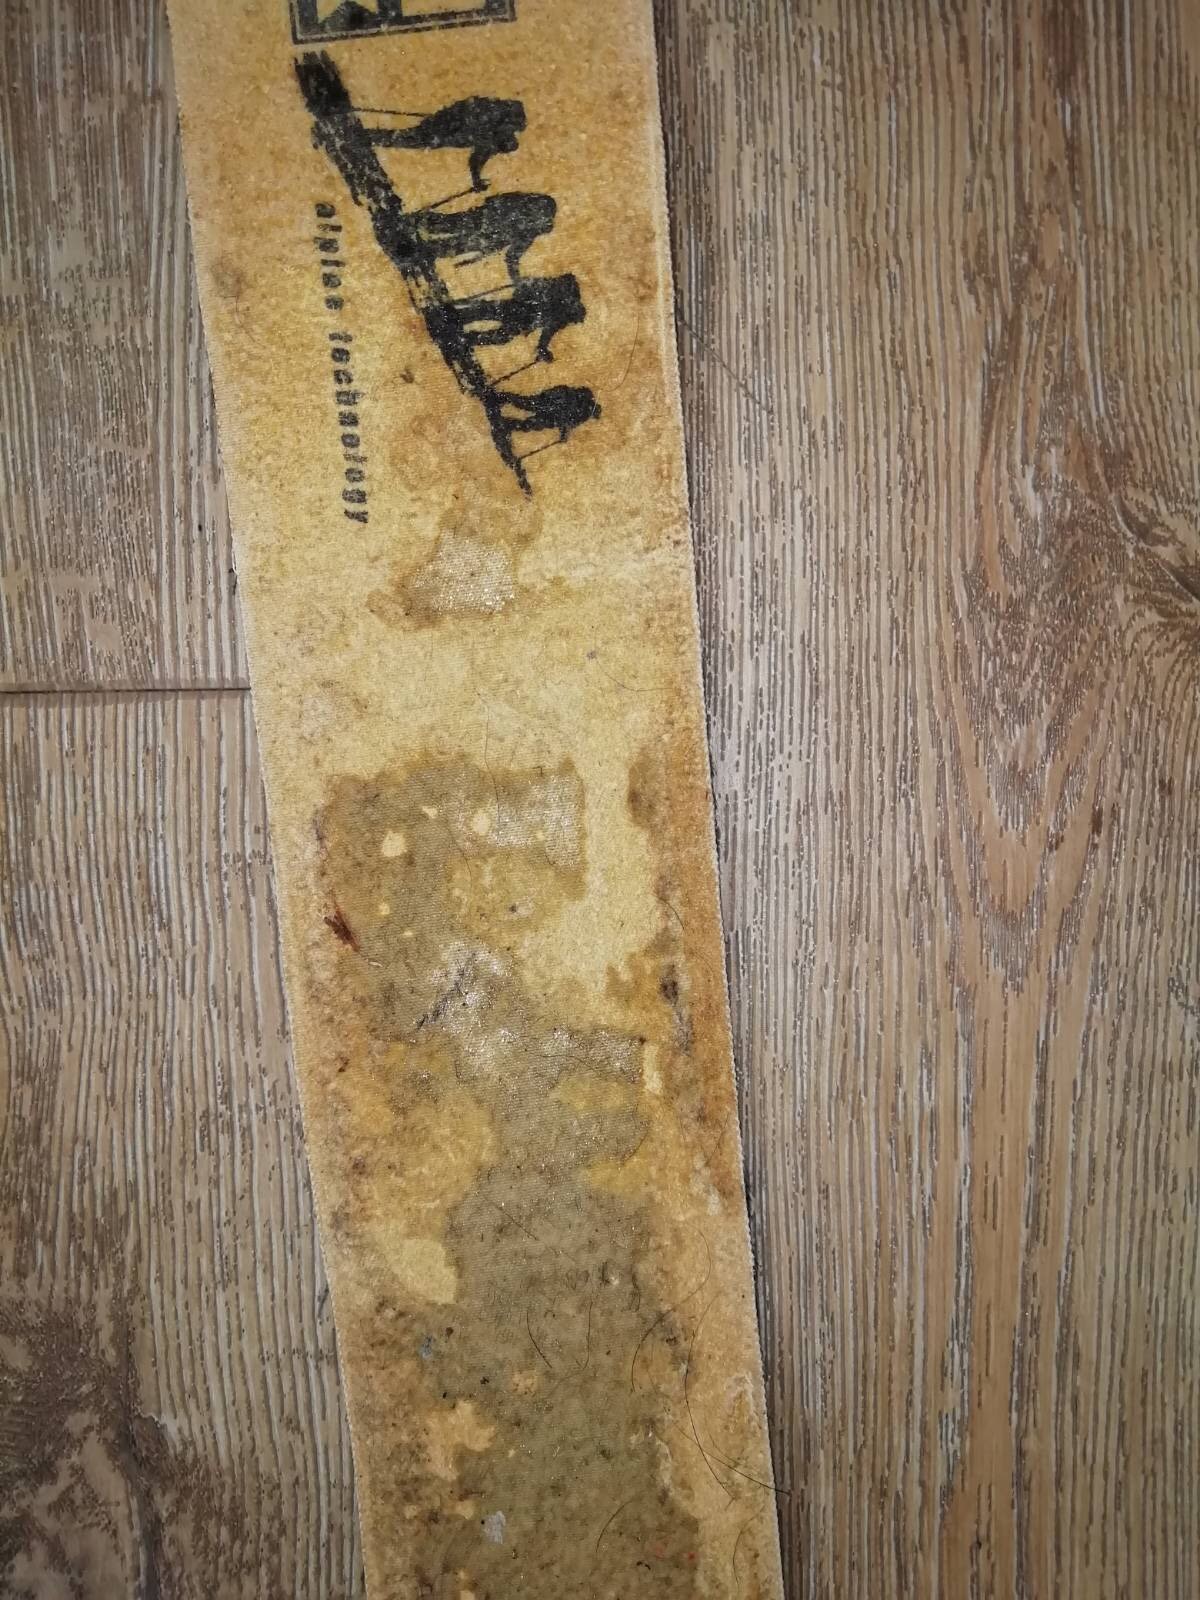
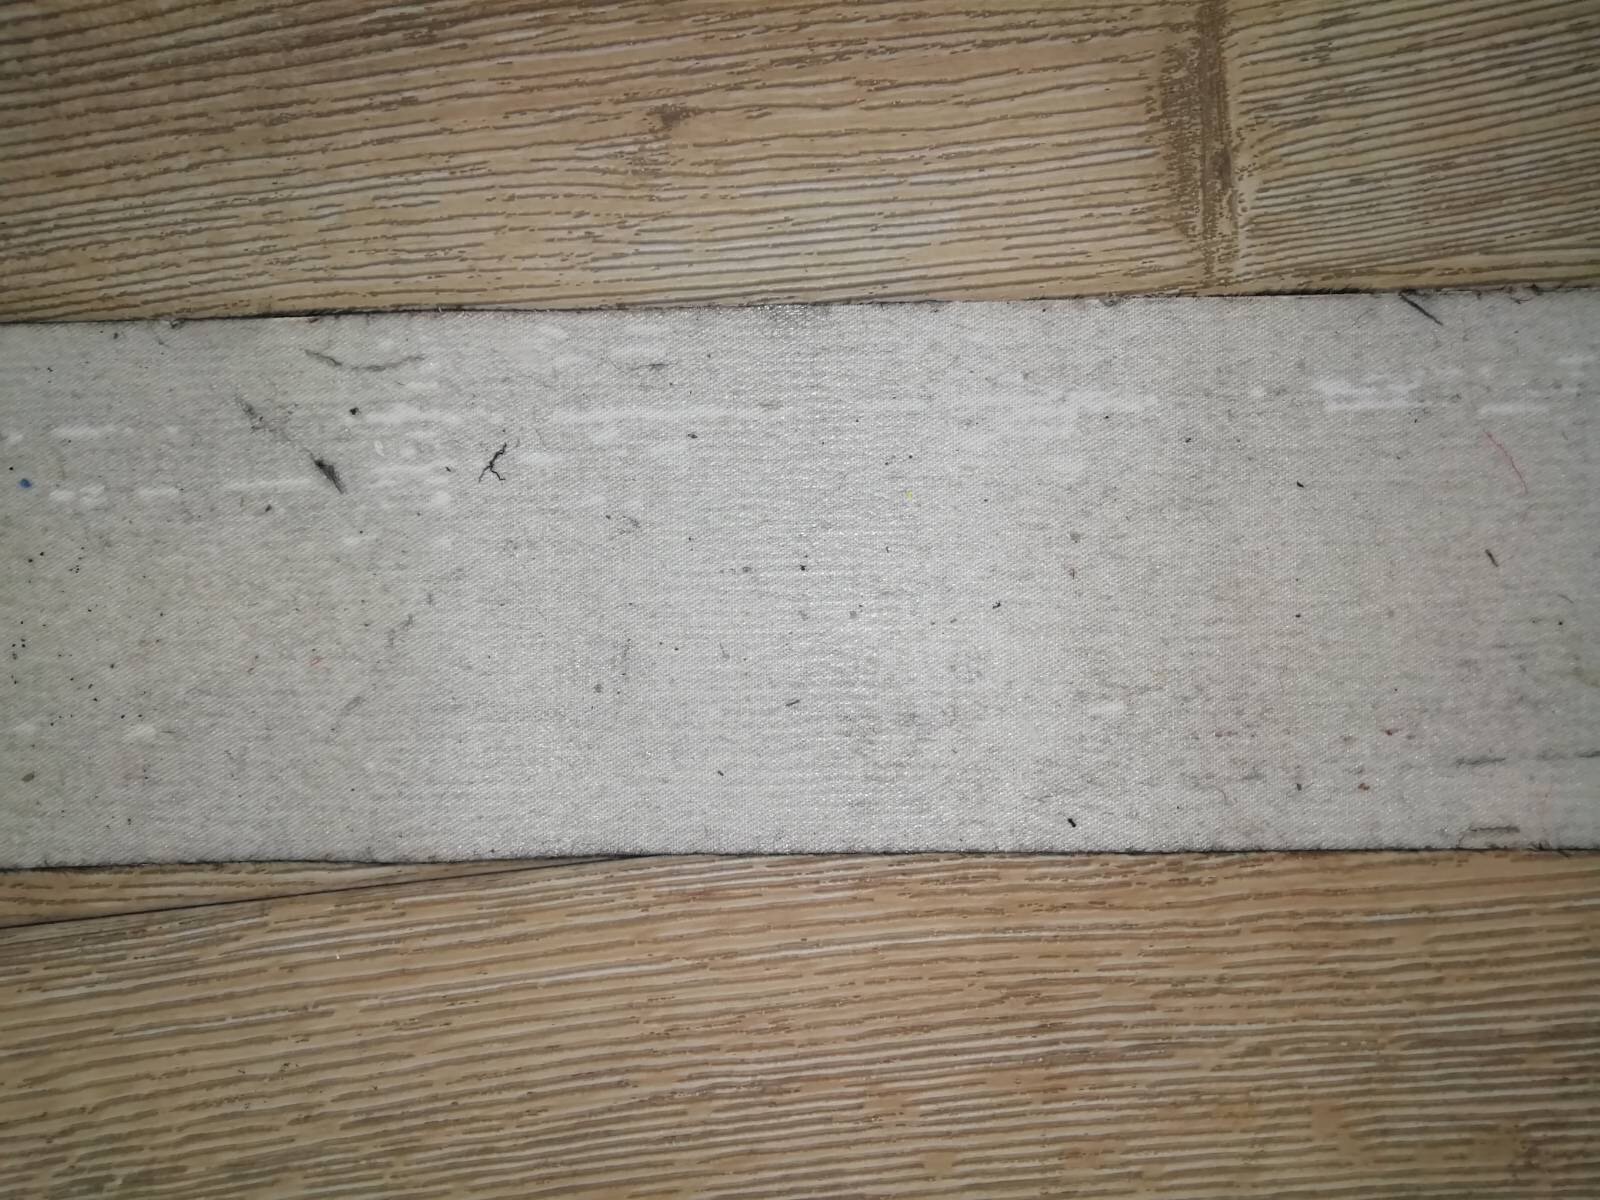
Case 1: The glue is in a very bad condition, has stains or is even partially missing? In this case, the glue must be removed. Use a heat gun and a spatula to carefully remove the adhesive layer.
Assesssment of the skin
Case 2: The skin no longer adheres sufficiently, but the adhesive layer is well preserved. Remove any dirt (forest residue, etc.) from the adhesive as best as possible with tweezers.
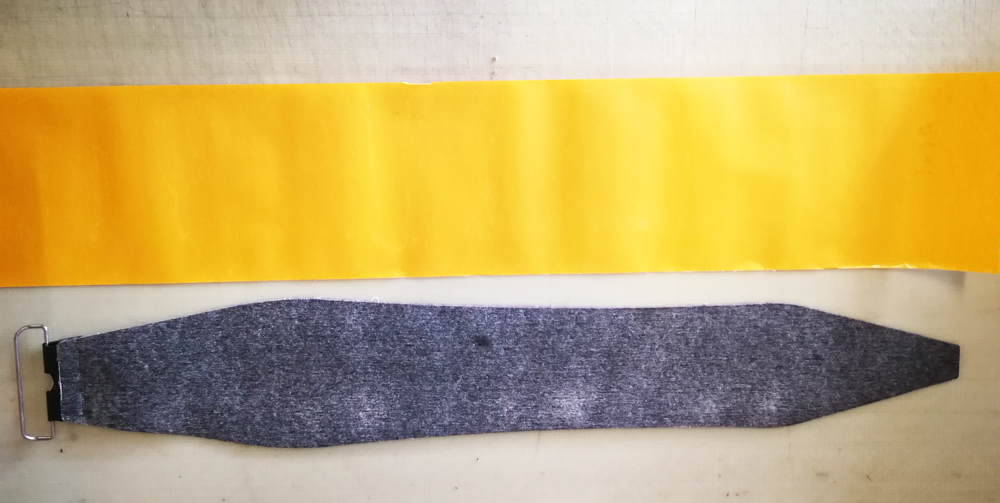
Preparation
Once you have assessed your skin and removed any glue or dirt, place the climbing skin and the Transfertape on a flat surface and place something underneath (e.g. a tarpaulin or old newspaper) as a precaution.
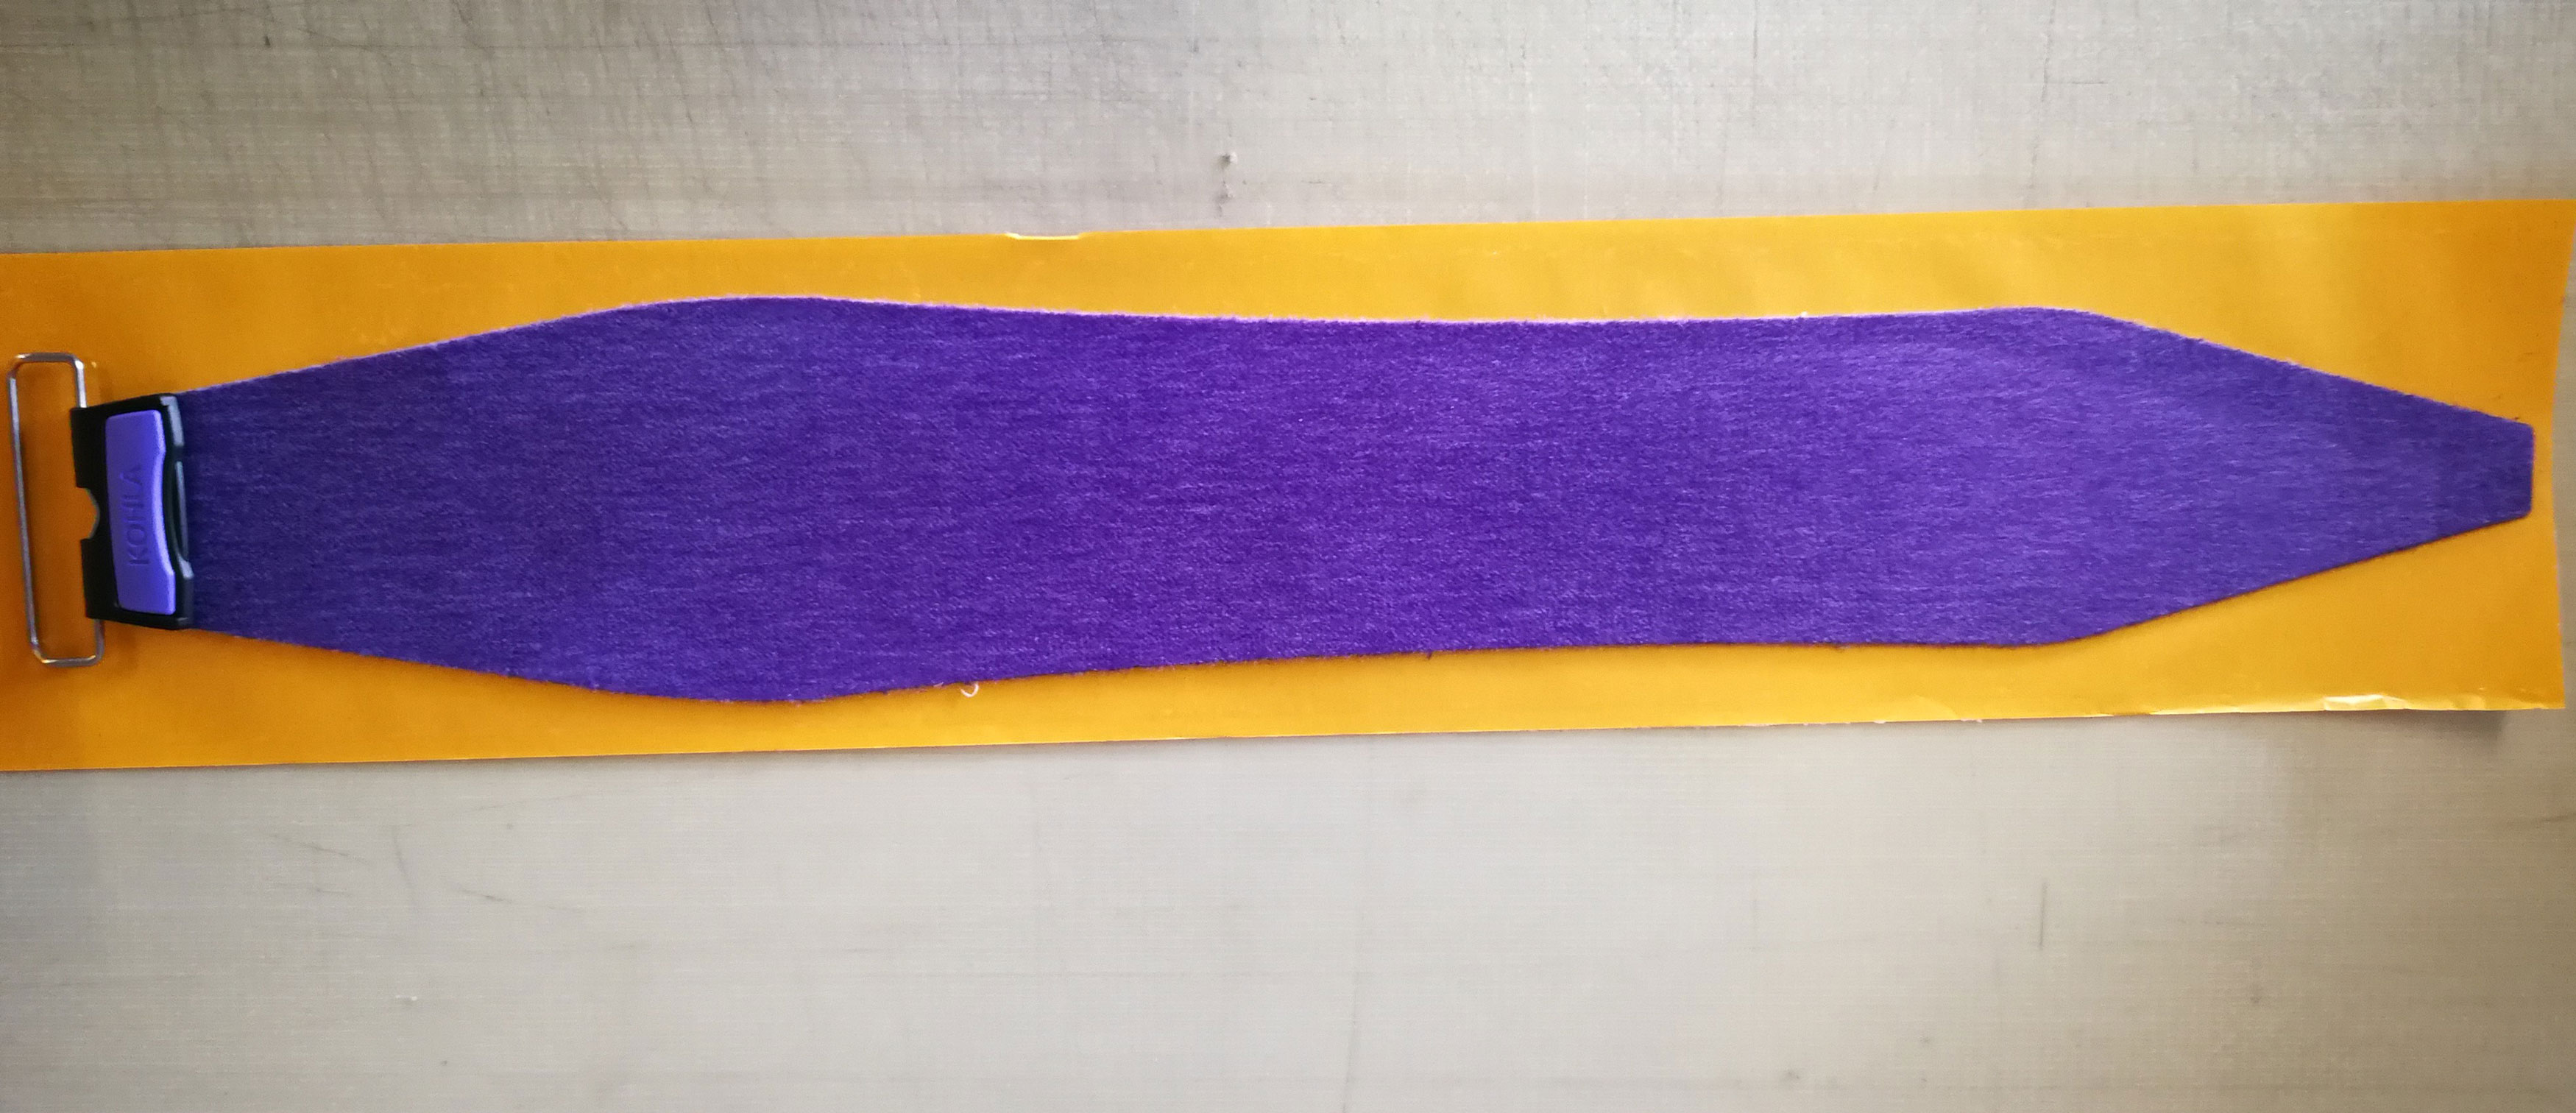
Gluing
Now glue the entire skin on the Transfertape - on the adhesive side!
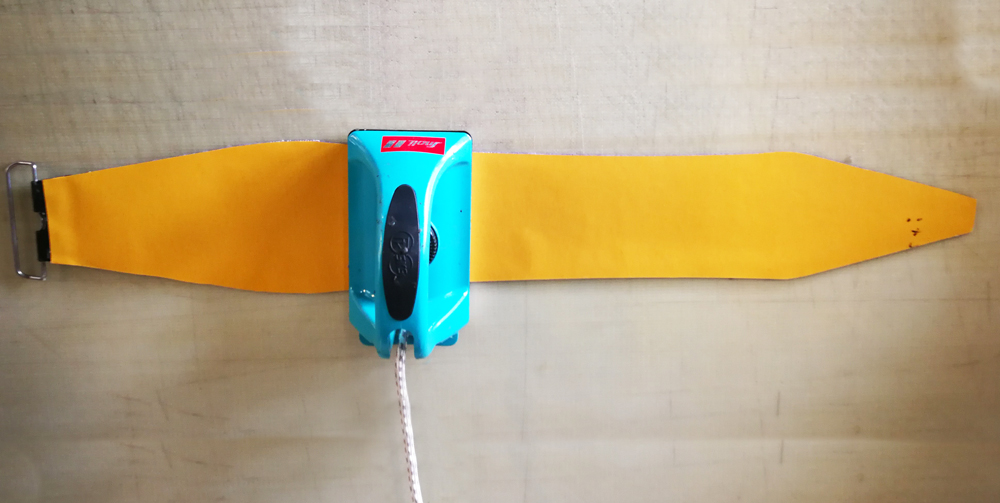
Ironing
The transfer tape now sticks to the skin. Now cut the tape to fit the skin by cutting off the left and right overhanging remnants with a cutter knife. In the end, the Transfertape should have the same shape as your cut ski touring skin. Now iron on the Transfertape with an old iron (no steam!) or a special ski iron. Iron from front to back at 160°C to 170°C three to four times slowly and with moderate pressure. Then allow the skin to cool for at least five minutes.
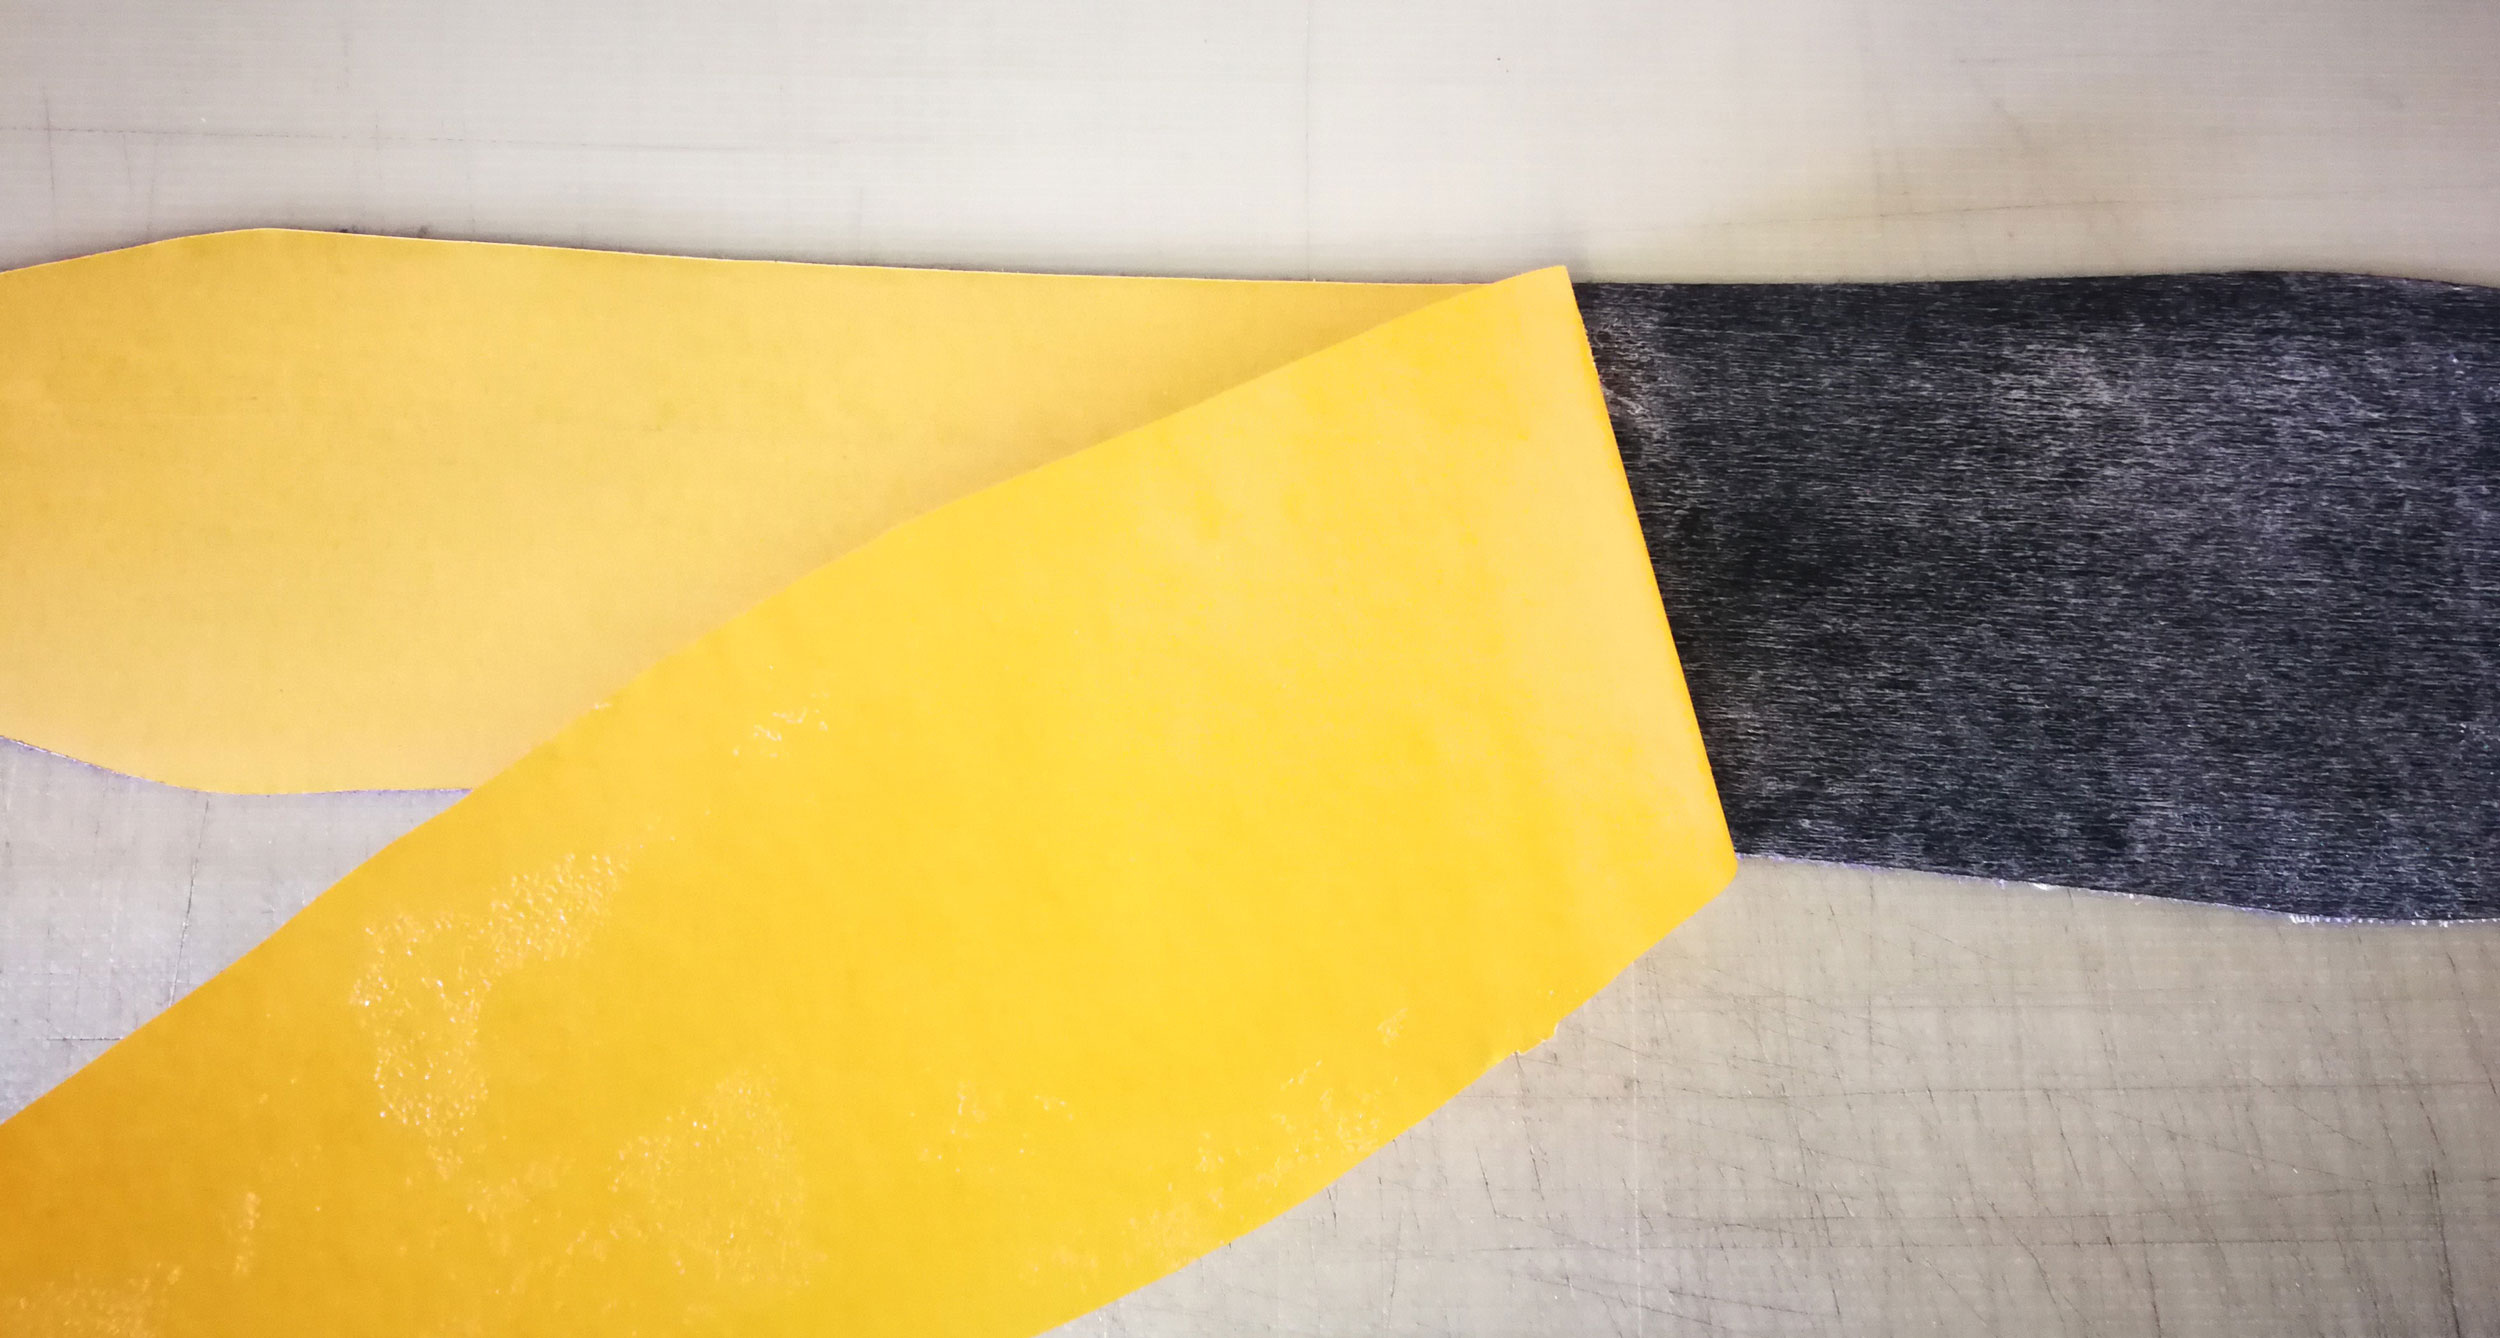
Remove tape
If everything has cooled down well, the yellow foil of the Transfertape can now be removed. The glue has now transferred to the adhesive side of the skin and the foil can be carefully removed from the front to the back. Is the adhesive still pulling threads? Then it is too early to remove the foil, wait a little longer until everything has really cooled down well.
Conclusion
With the Transfertapes from Kohla, you can easily recoat a ski touring skin at home in just a few steps. This pays off in any case, if the skin side is still in good shape and only the adhesive layer causes problems. With your newly coated skin, nothing stands in the way of wonderful Kohla mountain adventures.
